SPACER INSTALL
RIDE MORE MOUNTING BRACKET- SPACER INSTALLATION
The initial step to your very first Ride More seat adventure, is to install the Ride More mounting bracket.
The mounting bracket is a small, light weight ring that replaces existing spacer(s) on your bike's steerer tube. Every Ride More seat purchased as the System or separately, comes with two such spacers-- one already snug in the Ride More front mounting bracket, and another in your box.
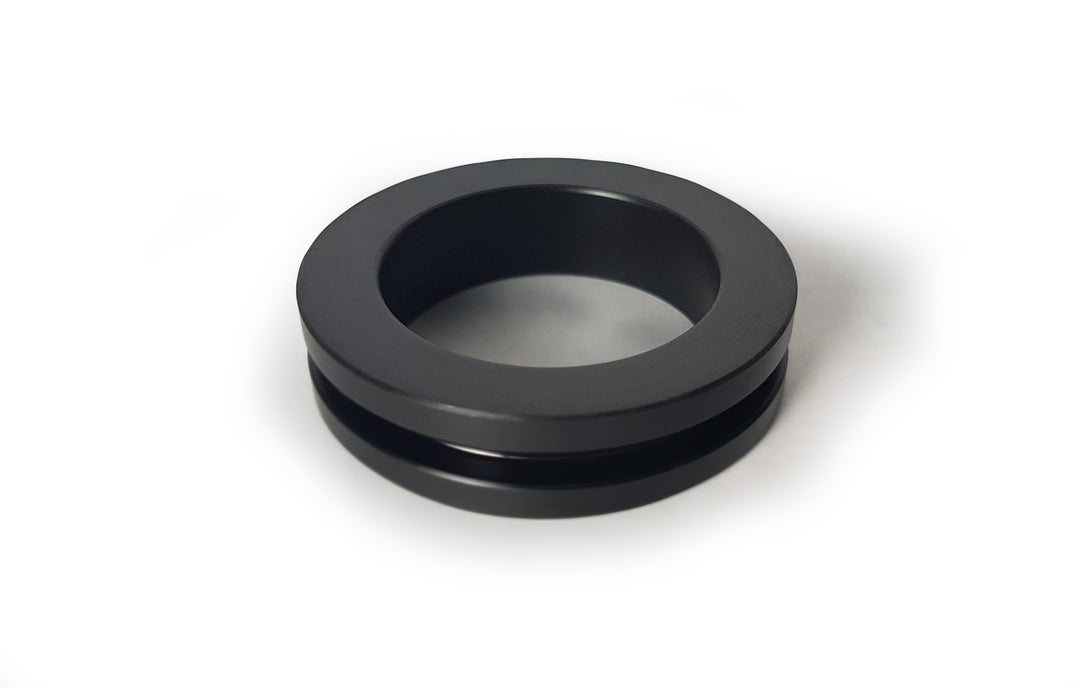
The Ride More Mounting Bracket is a lightweight spacer. It must be installed properly in order to ride safely with our system. To install -
- Remove your stem. The stem is attached to your handlebars. So, for this step, the handlebars will come off too.
- Exchange the Ride More spacer for existing spacers on your steerer tube (10mm).
- Put your stem (and handlebars) back on your bike.
Once on your bike, the spacer can be left there, virtually unnoticeable, so that you can then easily take your seat on and off in less than a minute.
Watch the video here to learn how to install your Ride More front mount spacer. If you do not feel comfortable doing this install on your own, take your bike and Ride More system to a professional mechanic for help.
WARNING: YOUR STEM MUST BE PROPERLY INSTALLED IN ORDER TO HAVE SAFE AND EFFECTIVE STEERING. UNLESS PROPERLY INSTALLED, YOU MAY EXPERIENCE DANGEROUS STEERING PROBLEMS.
Ready to ride more?
Shop our child bike seats + accessories, and start riding more, together.